But before sharing the steps on how to run Defrag, I wanted to answer some of the common questions surrounding it. First ...
Why Defrag?
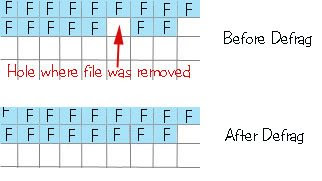
Think of your hard drive as a checkerboard. Every time you create a file (F), it takes a place on the checker board. When you delete a file, it leaves and empty space on the checker board where the file was. The next time you create a file, it doesn't go back and fill the empty space ... instead, it continues filling the spaces after the last one was created. So in time, you have "holes" or empty spaces left on the checker board in between files.
These empty spaces mean that your hard drive has to work harder to access your files and it slows down the computer. When you run Defrag, it picks up all the files and puts them in contiguous order again so all the empty spaces are filled ... which in turn allows the computer to access your data more quickly.

How to Run Defrag
The steps are simple. But first, note that it can take an hour or so to run it, and it's best to run it when you're not working on your computer. I like to run Defrag when I leave the house or am watching TV so as to ensure I leave the computer alone while it's running.
To run Defrag, follow these steps:
- Click the START button and then MY COMPUTER
- RIGHT click on the Local Disk "C" Drive and select PROPERTIES
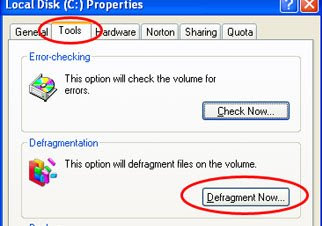
- Click the TOOLS tab
- Click the DEFRAGMENT button
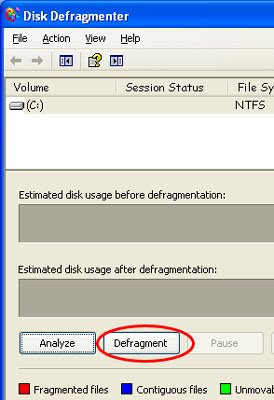
- Click the DEFRAGMENT again on the next window and then wait til the process completes (about an hour).


By the way, if your computer is running Windows Vista, you don't have to run defrag (unless you want to). One of the nice features of Windows Vista is that Defrag automatically runs in the background while you're working on the computer.
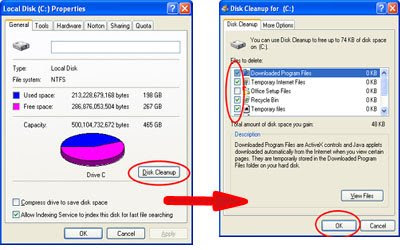
Click here to learn how to run Disk Cleanup.


